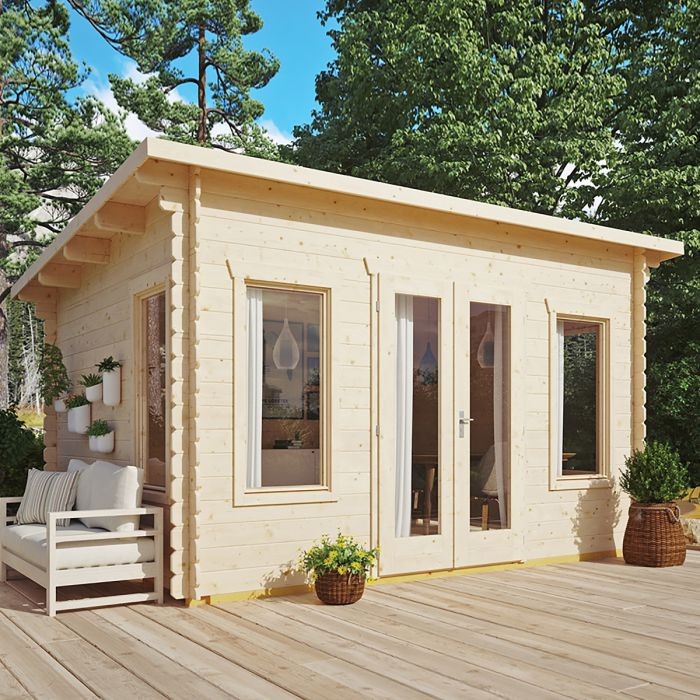
 You’ve found your dream cabin and are making plans to create your perfect garden haven.
But first things first. Before you get too carried away.
We need to talk bases.
It’s essential your cabin is built on a flat, solid, stable base that is sturdy enough to take its substantial weight and will ensure the doors and windows hang properly and open smoothly.
If the base isn’t level, the cabin will settle into the flaws, the logs won’t seat properly and the roof boards won’t attach to the cabin straight which could lead to problems such as warping, cracking and splitting. And, in extreme cases, gaps may appear between the logs.
Reason enough to do the job right in the first place! So some care, time and thought needs to go into this first step to enable you to enjoy your cabin without facing serious issues down the line.
Before the base is laid it’s important to
Choose the Right Location
- Position the cabin at least 2 metres away from the boundary of your property or you could need planning permission (see my blog Do I need Planning Permission for My Log Cabin)
- Keep in mind the cabin’s roof overhangs if you are building near trees or boundaries
- If the log cabin is placed under trees, it will be prone to a build up of dead leaves so it’s important to regularly clean the roof – and gutters if fitted
- Leave at least half a metre around the cabin so you can move easily for any maintenance that needs doing and for applying treatment and paint
- If you plan to use your building throughout the year choose a position that gets plenty of natural light. It would also make sense for it to be close to mains electricity and a water source if needed
Types of Bases
The 3 main choices of bases are:
- Concrete
- Patio Slabs
- Decking
Concrete:
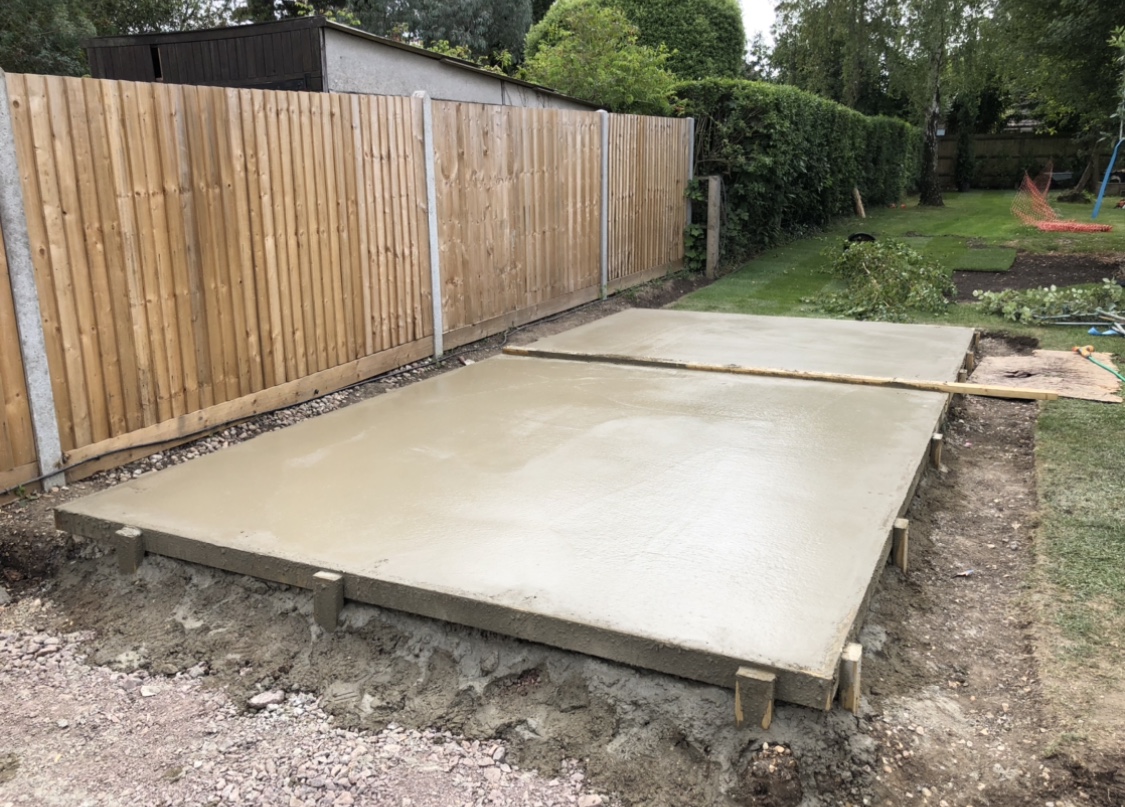
As a rule of thumb, concrete bases suitable to support log cabins will need to be at least 100mm thick.
- Mark out the chosen area and dig down to approximately 150-200mm (6”-8”)
- Remove rocks, vegetation and debris and level the area
- Fill with about 150mm (6”) of thick hardcore and compact using a vibrator plate or roller
- Lay a polythene damp proof membrance, ensuring the edges are turned up, and overlap and tape any joins. This will protect the concrete slab and and prevent any cracks that can be caused if it dries too quickly
- Add the concrete mixture and level it off using a piece of timber, ensuring it’s as smooth as possible
- Create the formwork (a temporary wooden frame into which the concrete is poured) using 25mm-thick timber planks which will support the wet concrete as it hardens.
- The formwork will have to withstand a lot of outwards pressure by the concrete once poured in and before it sets so it should be supported by driving stakes into the ground.
- Leave to dry. It is important that the concrete doesn’t dry out too quickly as it hardens – this can be done by keeping the concrete damp by covering it with plastic sheeting.
- Ideally leave to dry for 5 days. The concrete will take 28 days to reach its full strength.
- The formwork can be removed after 24 hours, although it is advisable to wait 72 hours to avoid any possible damage to the edges of the new concrete base.
Click here for handy video: How to Lay a Concrete Base for a Log Cabin
Paving Slabs:
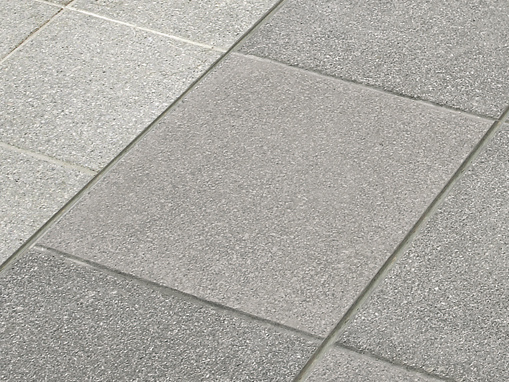
- Use flat paving slabs rather than textured ones, approximately 40mm (1.7”) thick
- Mark out your chosen area and dig down to approximately 150mm (6”)
- Clear any vegetation from the area and remove rocks and stones – this will make it easier for the slabs to be laid
- Fill with 50mm (2”) hardcore and compact using a vibrator plate or roller
- Lay the paving slabs on a 4:1 mixture of grit sand and cement at a depth of 50mm (2”) – important to level this as you pour
- Each paving slab must be levelled well, and gaps checked for, before moving on to the next one
- To get the slabs as even as possible, starting from one corner use a rubber mallet to gently hammer them down
- Check with a spirit level – add more sand if needed underneath the slabs until they are completely flat
- Ensure the slabs are just above the ground layer to enable rainwater to drain away
Click here for handy video: Homebase Guide to Laying Paving Slabs
Timber Decking:
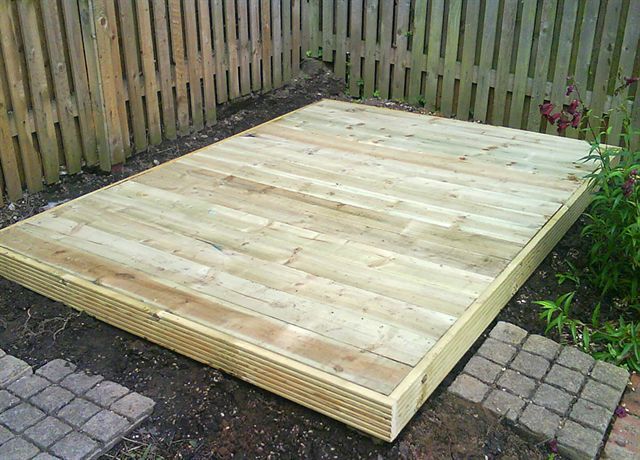
- Ideal if you have an uneven or sloping area
- Allows you to create a lovely verandah area if you make the base larger than the cabin
- Important to lay a weed proof membrane between the ground and the base
- Use pressure treated (tanalised) timber to withstand damp – it will last much longer than untreated or dip-treated boards
- Mark out your chosen area
- Clear any vegetation, rocks and stone and level the ground
- Lay out the bearers that make the outer frame and butt join them at the corners (a butt joint is formed when 2 pieces of wood are attached together perpendicularly – it is essential that the square cuts are precise).
- Fix together using 6″ scews or nails suitable for outdoor use, making sure to check all the corners are square
- Fit a baton brace to keep in place
- Nail the timber bearers to the outer frame approximately 450mm (18″) apart
- Once complete, check the frame is completely level
- Lay the timber decking boards and fix in place using 2 screws per bearer
- Leave a gap or 4-6mm between each decking board
- For a neat finish cover the framework and edges of the decking boards with boards that are mitred at the corner and ensure they sit flush with the top of the existing decking boards
- Treat the decking boards and edges with preservative
The decking will raise the height of the cabin so bear this in mind as the cabin should be no higher than 2.5m to avoid the need for planning permission.
Click here for handy video: Wickes Guide on How to Lay Decking
Size of Base
Opinion seems to slightly differ on this although the general consensus is that the base should be the same size as the footprint of the cabin. Which makes sense to us. If the base is larger than the cabin, water will simply run off it and gather on the base, increasing the risk of water ingress.
Important to emphasise the base needs to be ‘square’ i.e. all corners are right angles and opposing sides parallel especially if you’re building to the size of the cabin footprint.